本文共 3993 字,大约阅读时间需要 13 分钟。
一切来源于官网
http://kafka.apache.org/documentation/

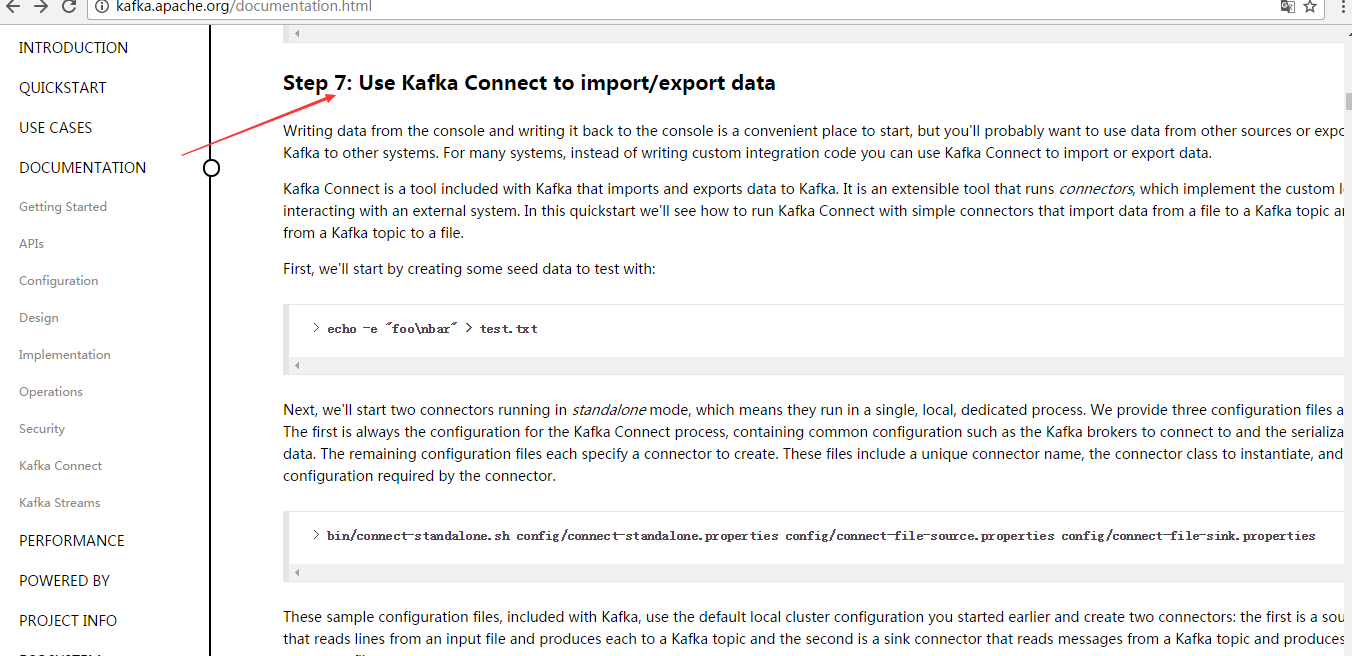
Step 7: 使用 Kafka Connect 来 导入/导出 数据
Writing data from the console and writing it back to the console is a convenient place to start, but you'll probably want to use data from other sources or export data from Kafka to other systems. For many systems, instead of writing custom integration code you can use Kafka Connect to import or export data.
从控制台写入和写回数据是一个方便的开始,但你可能想要从其他来源导入或导出数据到其他系统。 对于大多数系统,可以使用kafka Connect,而不需要编写自定义集成代码。
Kafka Connect is a tool included with Kafka that imports and exports data to Kafka. It is an extensible tool that runs connectors, which implement the custom logic for interacting with an external system. In this quickstart we'll see how to run Kafka Connect with simple connectors that import data from a file to a Kafka topic and export data from a Kafka topic to a file.
Kafka Connect是导入和导出数据的一个工具。它是一个可扩展的工具,运行连接器,实现与自定义的逻辑的外部系统交互。 在这个快速入门里, 我们将看到如何运行Kafka Connect用简单的连接器从文件导入数据到Kafka主题, 再从Kafka主题导出数据到文件
First, we'll start by creating some seed data to test with:
首先,我们首先创建一些种子数据用来测试:
> echo -e "foo\nbar" > test.txt
Next, we'll start two connectors running in standalone mode, which means they run in a single, local, dedicated process. We provide three configuration files as parameters. The first is always the configuration for the Kafka Connect process, containing common configuration such as the Kafka brokers to connect to and the serialization format for data. The remaining configuration files each specify a connector to create. These files include a unique connector name, the connector class to instantiate, and any other configuration required by the connector.
接下来,我们开启2个连接器运行在独立的模式,这意味着它们运行在一个单一的,本地的,专用的进程。 我们提供3个配置文件作为参数。 第一个始终是kafka Connect进程,如kafka broker连接和数据库序列化格式, 剩下的配置文件每个指定的连接器来创建,这些文件包括一个独特的连接器名称,连接器类来实例化和任何其他配置要求的。
> bin/connect-standalone.sh config/connect-standalone.properties config/connect-file-source.properties config/connect-file-sink.properties
These sample configuration files, included with Kafka, use the default local cluster configuration you started earlier and create two connectors: the first is a source connector that reads lines from an input file and produces each to a Kafka topic and the second is a sink connector that reads messages from a Kafka topic and produces each as a line in an output file.
这是示例的配置文件,使用默认的本地集群配置并创建了2个连接器: 第一个是导入连接器,从导入文件中读取并发布到Kafka主题, 第二个是导出连接器,从kafka主题读取消息输出到外部文件
During startup you'll see a number of log messages, including some indicating that the connectors are being instantiated. Once the Kafka Connect process has started, the source connector should start reading lines from test.txt and producing them to the topic connect-test, and the sink connector should start reading messages from the topic connect-test and write them to the file test.sink.txt. We can verify the data has been delivered through the entire pipeline by examining the contents of the output file:
在启动过程中,你会看到一些日志消息,包括一些连接器实例化的说明。一旦kafka Connect进程已经开始,导入连接器应该读取从test.txt和写入到topic connect-test,导出连接器从主题connect-test读取消息写入到文件test.sink.txt . 我们可以通过验证输出文件的内容来验证数据数据已经全部导出:
> cat test.sink.txtfoobar
Note that the data is being stored in the Kafka topic connect-test, so we can also run a console consumer to see the data in the topic (or use custom consumer code to process it):
注意,导入的数据也已经在Kafka主题connect-test里,所以我们可以使用该命令查看这个主题:
> bin/kafka-console-consumer.sh --bootstrap-server localhost:9092 --topic connect-test --from-beginning{"schema":{"type":"string","optional":false},"payload":"foo"}{"schema":{"type":"string","optional":false},"payload":"bar"}... The connectors continue to process data, so we can add data to the file and see it move through the pipeline:
连接器继续处理数据,因此我们可以添加数据到文件并通过管道移动:
> echo "Another line" >> test.txt
You should see the line appear in the console consumer output and in the sink file.
你应该会看到出现在消费者控台输出一行信息并导出到文件。
本文转自大数据躺过的坑博客园博客,原文链接:http://www.cnblogs.com/zlslch/p/6767386.html,如需转载请自行联系原作者